If you’re experiencing a leaking shut-off valve under your kitchen sink, don’t panic. This is a common issue that can be easily fixed with the right tools and a bit of know-how.
In this guide, we’ll walk you through the steps to identify and repair the source of the leak, and offer some tips to prevent future leaks from occurring.
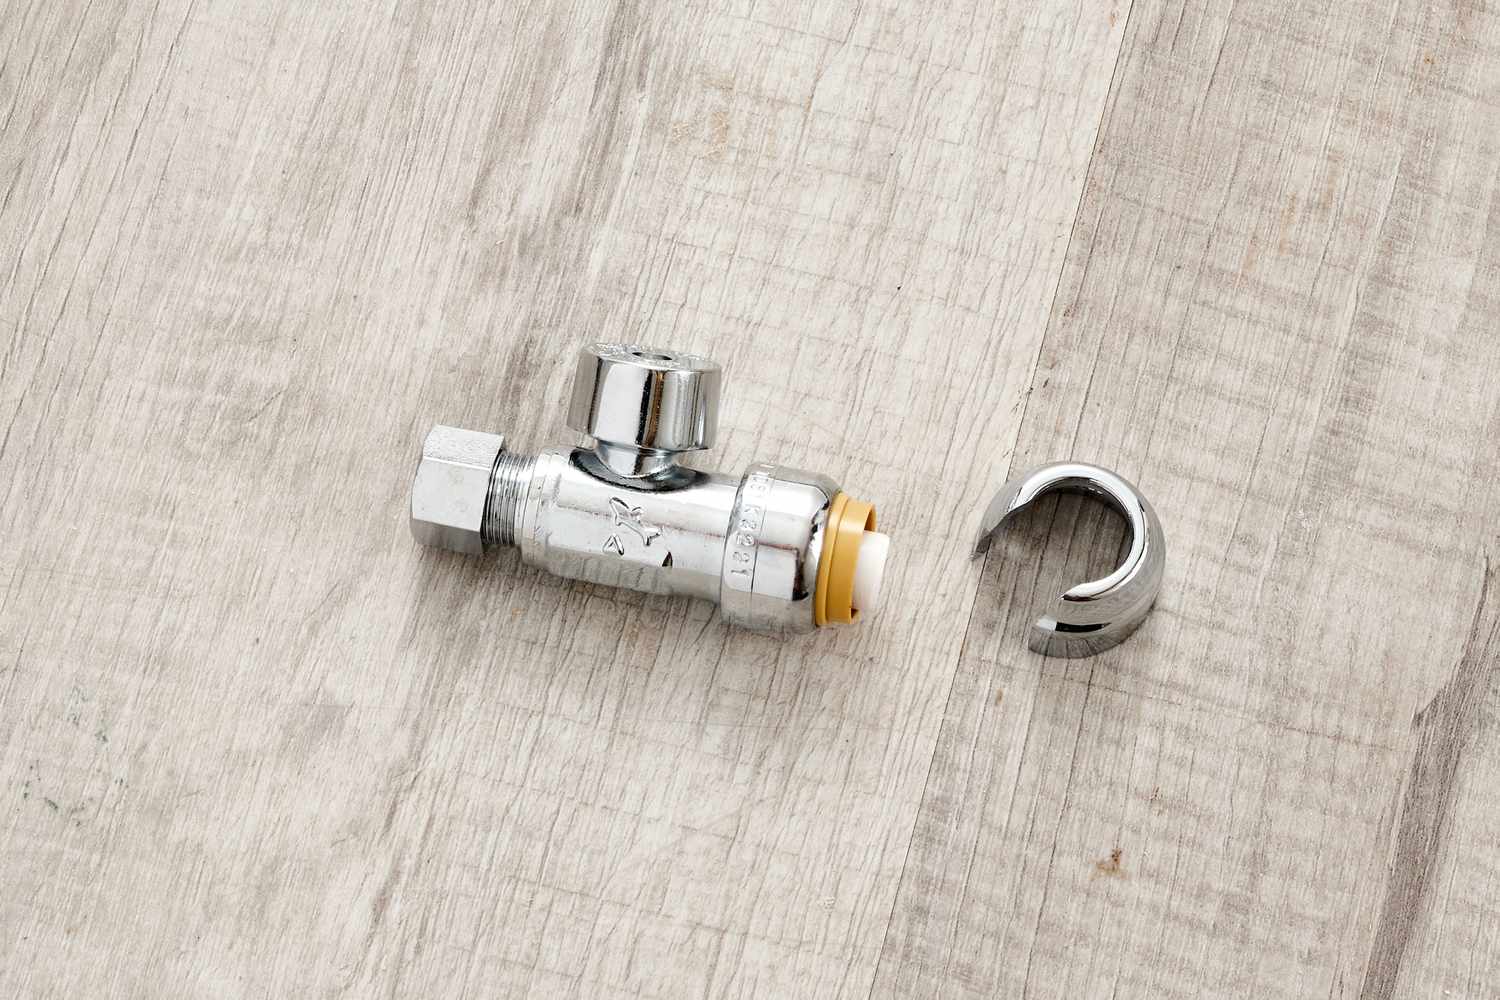
Before you get started, you’ll need to gather a few tools to make the job easier. You’ll need an adjustable wrench, a pair of pliers, Teflon tape, and a replacement valve if necessary.
Once you have these tools on hand, you’ll be ready to tackle the problem head-on and get your kitchen sink back to working order. So, let’s get started!
Gathering the Necessary Tools
Now it’s time to gather up all the tools you’ll need to get this pesky problem taken care of. Choosing appropriate tools is essential for fixing the leaking shut-off valve under your kitchen sink.
Some of the tools you’ll need include a pair of pliers, an adjustable wrench, a bucket or a towel, and a replacement valve.
Before you start the repair, it’s important to take safety precautions. Turn off the water supply to the sink, and make sure that the area underneath the sink is dry. You don’t want to risk slipping or electrocution.
Additionally, it’s a good idea to wear gloves and eye protection to avoid any cuts or injuries. By taking these simple steps, you can ensure that the repair process goes smoothly and safely.
Turning Off the Water Supply
You’ll need to shut off the water supply to the sink before you can start tending to the problem, as the old adage goes: “You can’t stop the flow until you turn off the source.
This is an important step to ensure your safety and prevent any further damage. Always remember that water and electricity don’t mix, and a leaking shut-off valve can cause electrical hazards.
To turn off the water supply, locate the shut-off valve under the sink. Most sinks have two shut-off valves, one for hot water and one for cold water. If you can’t locate the shut-off valve under the sink, try looking in the basement or utility room. If you still can’t find it, you may need to shut off the main water supply to your house.
Shut off the valve by turning it clockwise until it stops. Once the water supply is shut off, you can proceed with fixing the leaking shut-off valve under the kitchen sink. Remember that there are shut-off valve alternatives that you can use to replace the old one.
Identifying the Source of the Leak
To figure out where the water is coming from, identify the source of the leak by carefully examining the area around the sink and the pipes leading to it.
Common causes of leaking shut-off valves include worn-out washers, damaged pipes, or faulty connections. To troubleshoot the issue, dry the area around the valve with a towel and inspect it for any visible cracks, rust, or water stains.
If the valve itself is not leaking, check the pipes leading to it for any signs of damage or corrosion. Also, check the connections between the pipes and the valve to make sure they’re tight and secure.
If there are no visible signs of damage or leaks, turn on the water supply and observe any changes in the area around the valve. By carefully examining the source of the leak, you can determine the best course of action to fix the problem and prevent any further damage.
Repairing the Valve
Once you’ve identified the source of the problem, it’s time to roll up your sleeves and tackle the issue head-on, like a plumber ready to unclog a backed-up drain.
Repairing a leaking shut-off valve under the kitchen sink can be done by following these steps:
- Turn off the water supply to the valve by shutting off the main water supply to the house. This is important to avoid any accidents or further damage.
- Place a bucket or a towel under the valve to catch any water that may come out during the repair process.
- Using a wrench, loosen the bonnet nut and remove it along with the stem. Inspect both parts for any damage or wear and tear.
- Replace any damaged parts with new ones and reassemble the valve back together.
- Turn on the main water supply and check for any leaks. If the valve is still leaking, it may need to be replaced entirely.
Valve replacement can be a more complex process and may require the help of a professional plumber.
Remember to always practice plumbing safety and turn off the main water supply before attempting any repairs.
Replacing the Valve
If you’re in need of a more extensive repair, replacing the valve entirely may be necessary. It’s important to select the right valve for your kitchen sink.
The shut-off valve should be compatible with your plumbing system and meet your specific needs. When replacing the shut-off valve, it’s recommended to hire a professional plumber to ensure proper installation.
The plumber can assist with valve selection, as well as provide guidance on any necessary adjustments to your plumbing system. A professional can also ensure that the new valve is installed correctly, preventing any future leaks or plumbing issues.
With the help of a plumber, replacing the valve can be a quick and easy solution to your kitchen sink’s leaking valve.
Testing for Leaks
Now that you’ve replaced the shut-off valve under your kitchen sink, it’s important to test for leaks. This will ensure that the valve is properly installed and functioning correctly. Common causes of leaks include loose connections, damaged pipes, and faulty valves.
Here are some troubleshooting techniques to help you identify the source of any leaks:
- Check for visible leaks: Look for any signs of water on the pipes or fittings.
- Dry off the area: Use a towel or cloth to dry the pipes and fittings completely.
- Turn on the water: Slowly turn on the water and check for any leaks.
- Tighten connections: If you notice any leaks, use a wrench to tighten any loose connections.
Once you’ve tested for leaks and tightened any loose connections, it’s important to recheck for leaks. Repeat the steps above until there are no signs of leaks. If you still notice leaks, it may be necessary to call a professional plumber for further assistance.
Testing for leaks is a necessary step in maintaining a properly functioning shut-off valve under your sink.
Tips for Preventing Future Leaks
To prevent future leaks, it’s important to regularly inspect and maintain the plumbing in your home. This includes checking for any signs of wear and tear on the shut-off valve under the kitchen sink.
Choosing the right shut-off valve is also crucial in preventing leaks. It’s recommended to use a ball valve instead of a gate valve as they are more durable and less prone to leaks.
Another tip is to avoid using excessive force when turning the shut-off valve on and off. Over-tightening can cause damage to the valve and lead to leaks.
It’s also important to avoid using chemicals or harsh cleaners on the valve as this can cause corrosion and weaken the valve’s seal. Regularly cleaning the valve with a mild cleaner and warm water can help prevent buildup and keep the valve functioning properly.
By following these tips and properly maintaining the shut-off valve, you can prevent future leaks and avoid costly repairs.
Frequently Asked Questions
Can I use any type of shut-off valve to replace the leaking one under my kitchen sink?
When replacing a shut-off valve under your kitchen sink, it’s important to consider the different types of valves available and their respective pros and cons.
There are several types of valves that can be used, including ball valves, gate valves, and globe valves.
Ball valves are the most popular choice due to their durability and ease of use, while gate valves are less expensive but can become difficult to open and close over time.
Globe valves offer excellent control over water flow but can be more expensive and difficult to install.
Ultimately, the type of valve you choose will depend on your specific needs and budget.
It’s important to weigh the pros and cons of each type of valve before making a decision to ensure that you choose the best option for your situation.
How often should I check my shut-off valves for leaks?
To ensure the safety of your home and prevent potential damage from water leaks, it’s important to regularly maintain and check your shut-off valves. Signs of a failing shut off valve may include corrosion, difficulty turning the valve, or water leaking from the valve.
It’s recommended to check your shut-off valves at least once a year and replace any valves that show signs of wear or damage. It’s also important to know the location of all shut-off valves in your home in case of an emergency.
By properly maintaining your shut-off valves, you can prevent costly water damage and ensure the safety of your home and family.
Is it safe to use Teflon tape on the threads of the shut-off valve?
When it comes to using Teflon tape on the threads of shut-off valves, there are pros and cons to consider.
On the one hand, Teflon tape can provide a tight seal and prevent leaks from occurring.
On the other hand, if the tape is not applied correctly or if too much tape is used, it can actually cause leaks or prevent the valve from turning off completely.
As an alternative, some plumbers recommend using pipe dope or a similar sealant that can provide a reliable seal without the risk of over-tightening or causing leaks.
Ultimately, the choice between Teflon tape and other sealants will depend on the specific situation and the preferences of the person doing the repair.
What should I do if the shut-off valve is too corroded to repair?
When dealing with a corroded shut-off valve, you may find yourself faced with the decision of whether to repair or replace it altogether.
It’s important to weigh the costs and benefits of both options before making a choice. If you’re skilled in DIY plumbing repairs and have the necessary tools, fixing the valve yourself may be a viable option. However, if you’re unsure of your abilities or the valve is difficult to access, it may be wise to hire a professional plumber.
Keep in mind that purchasing a new shut-off valve may be more expensive upfront, but it could save you money in the long run if the corroded valve continues to cause issues.
Ultimately, the decision of whether to repair or replace a corroded shut-off valve will depend on the specific situation and your own abilities and comfort level with plumbing repairs.
Should I hire a plumber to fix the leaking shut-off valve or can I do it myself?
When it comes to fixing a leaking shut-off valve under your kitchen sink, you may be wondering whether to hire a professional plumber or tackle the job yourself.
According to recent statistics, the average cost of hiring a plumber for this type of repair is around $150. However, if you choose to take the DIY route, you could potentially save some money.
Keep in mind that fixing a shut-off valve can be a technical and precise task, requiring specialized tools and knowledge.
Ultimately, the decision between DIY vs professional comes down to your level of expertise and comfort with plumbing repairs, as well as your budget.
Conclusion
Congratulations, you’ve successfully fixed the leaking shut-off valve under your kitchen sink! With the right tools, a little patience, and some know-how, you were able to locate and repair the source of the leak.
But don’t forget, prevention is key to avoiding future leaks. Keep an eye on your plumbing and check for any signs of wear or damage. Consider replacing old valves and pipes before they have a chance to leak.
And remember, even the smallest leak can lead to big problems if left unaddressed.
Just like a leaky valve can cause damage to your home, neglecting other important areas of your life can lead to negative consequences. By taking action and making necessary repairs, you’re investing in the longevity and safety of your home.
Apply this same mindset to other areas of your life, such as relationships, finances, and personal growth. By addressing issues early on and taking preventative measures, you can avoid bigger problems down the road.
So take charge, be proactive, and keep your life running smoothly.